

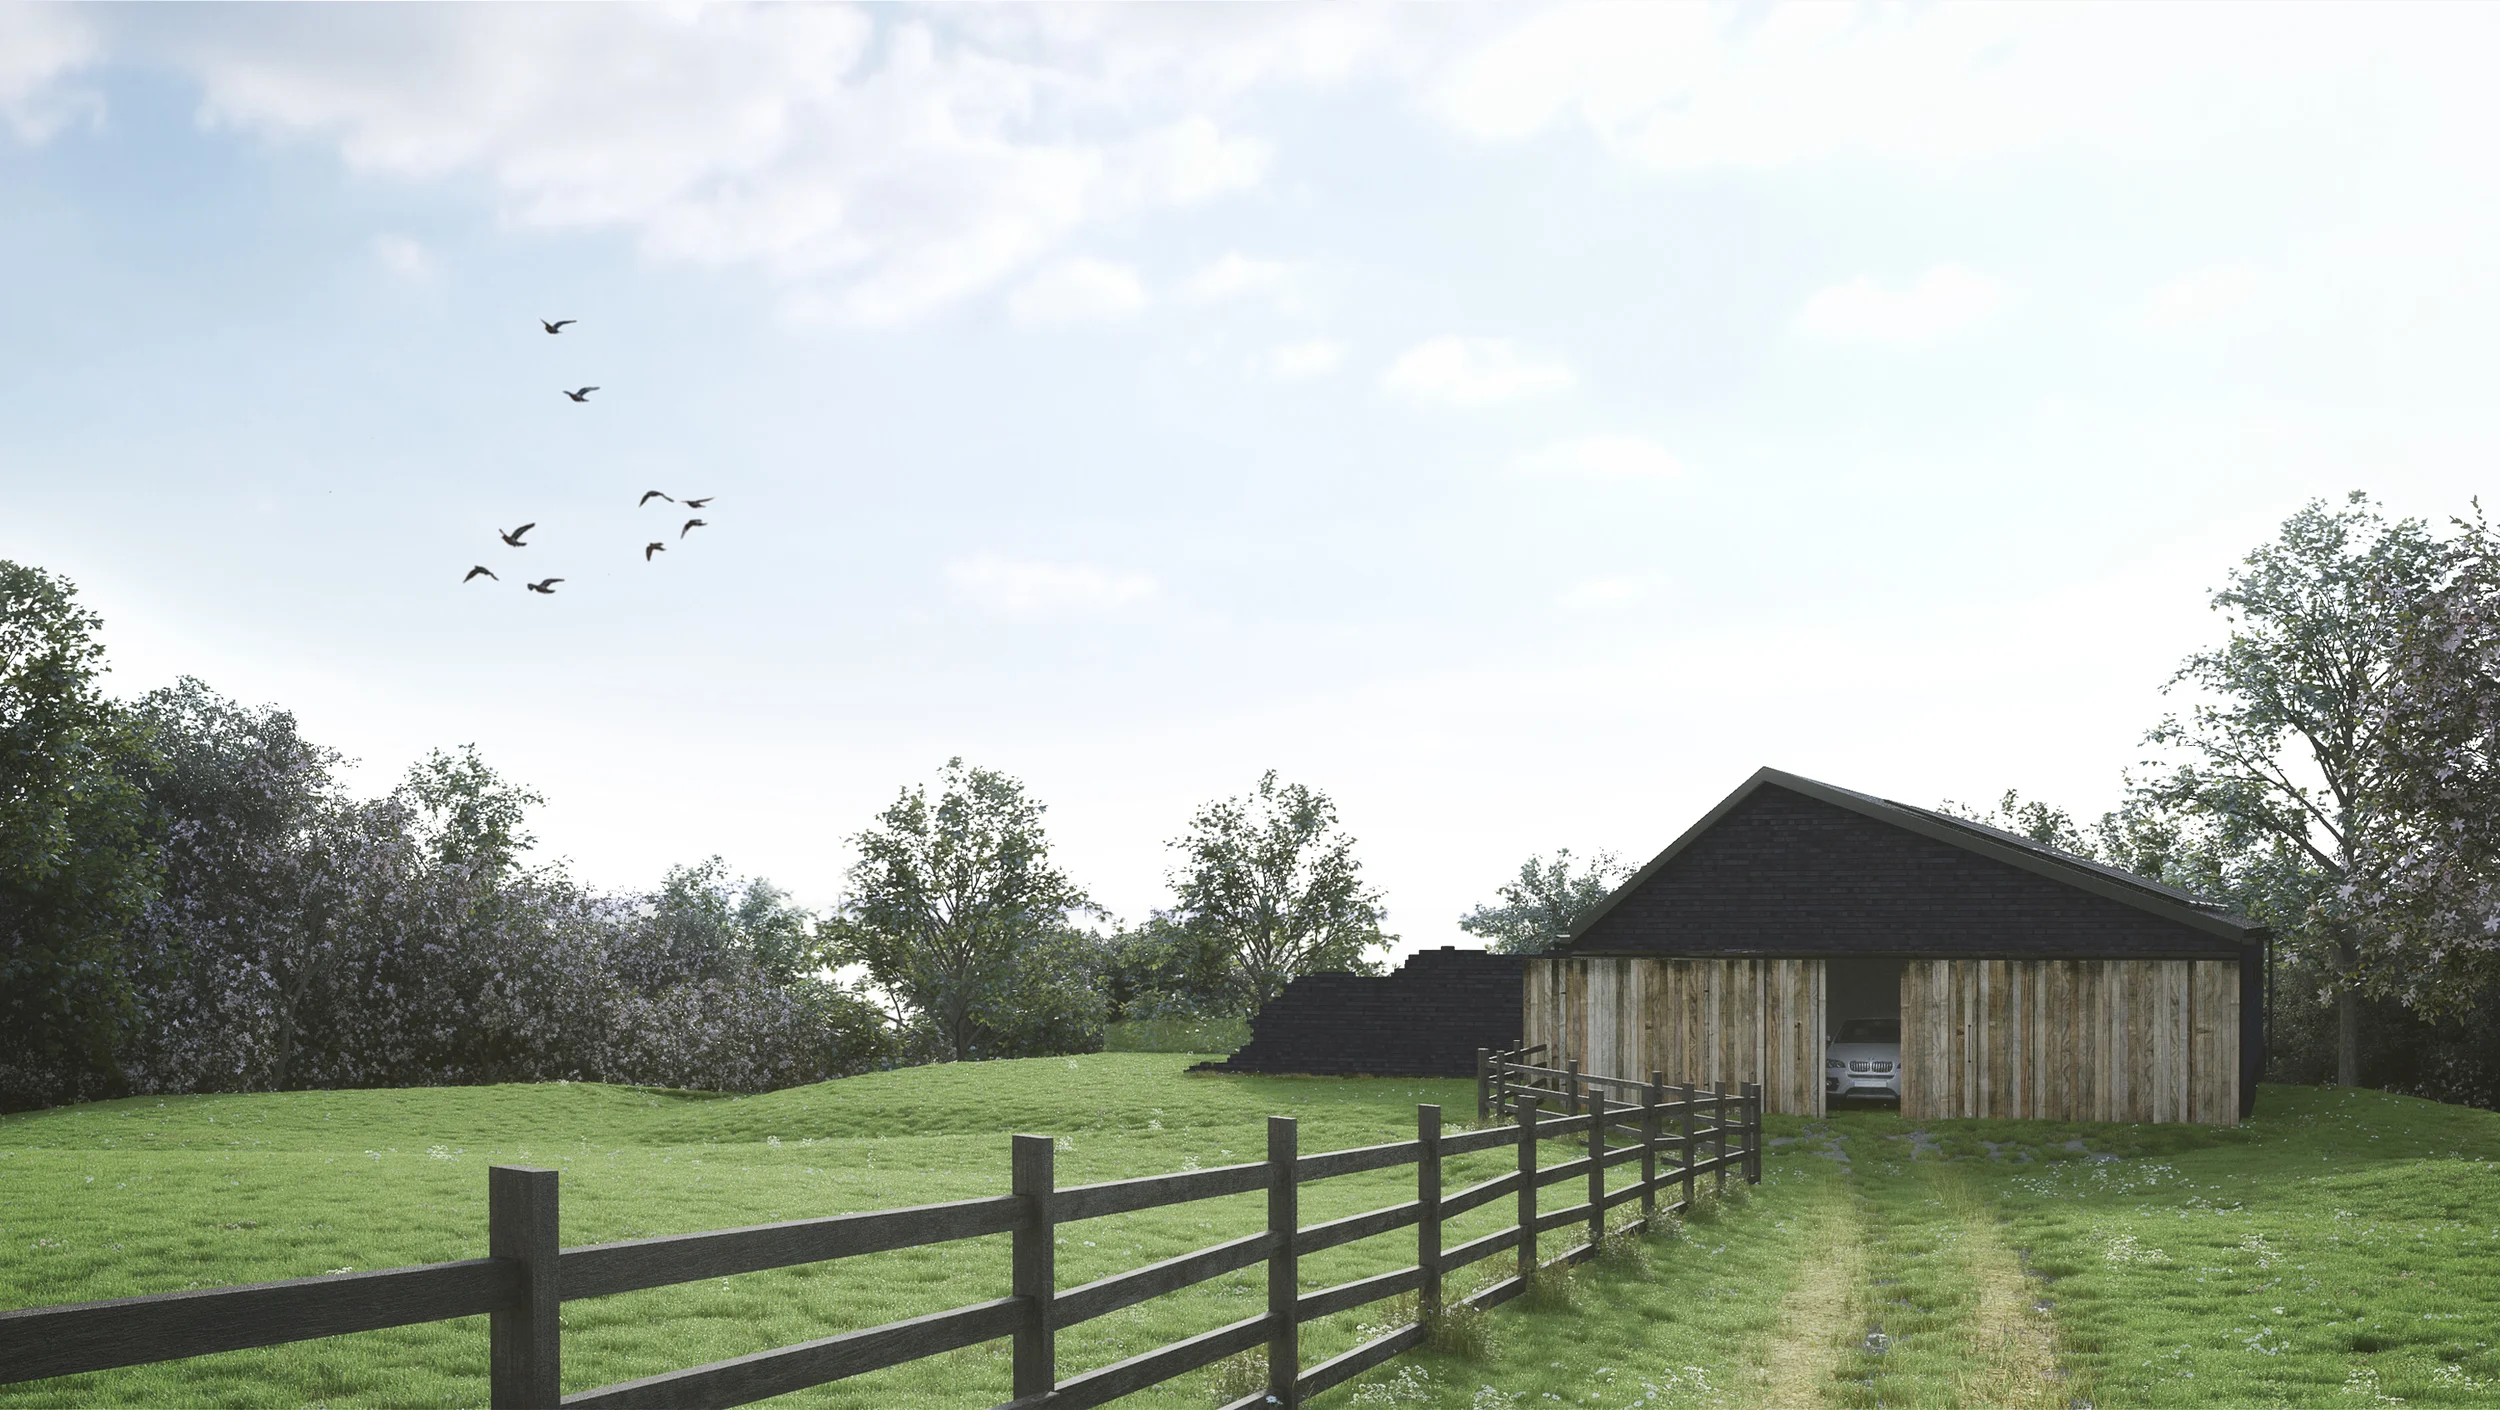
Category: Private Client Services Provided: Feasibility, Concept, Appraisal, Local Authority Representation, Green Belt Planning Consent & CGI Visualisation Location: Hoghton, Lancashire

A couple of pieces to report this month, firstly I went to EUE in Utrecht back in June, as usual it was great to catch up with the CG heads and learn lots of interesting things about 3D. Particular highlights were meeting Eric de Broche of Luxigon fame and Nils Norgrens from Neoscape's talk on leadership and starting a company. Write up coming soon. Whilst I was at EUE I bumped into Adam Hotovy who was kind enough to give me an early release of Corona A7. I took it for a spin with the new BMW i7. Corona is unbelievabley easy to use, get the conversion script from the forum and pretty much hit render and your good. I left it overnight and this is what I got, I did some minor color adjustments in Photoshop, but here that is now built in to the release version.

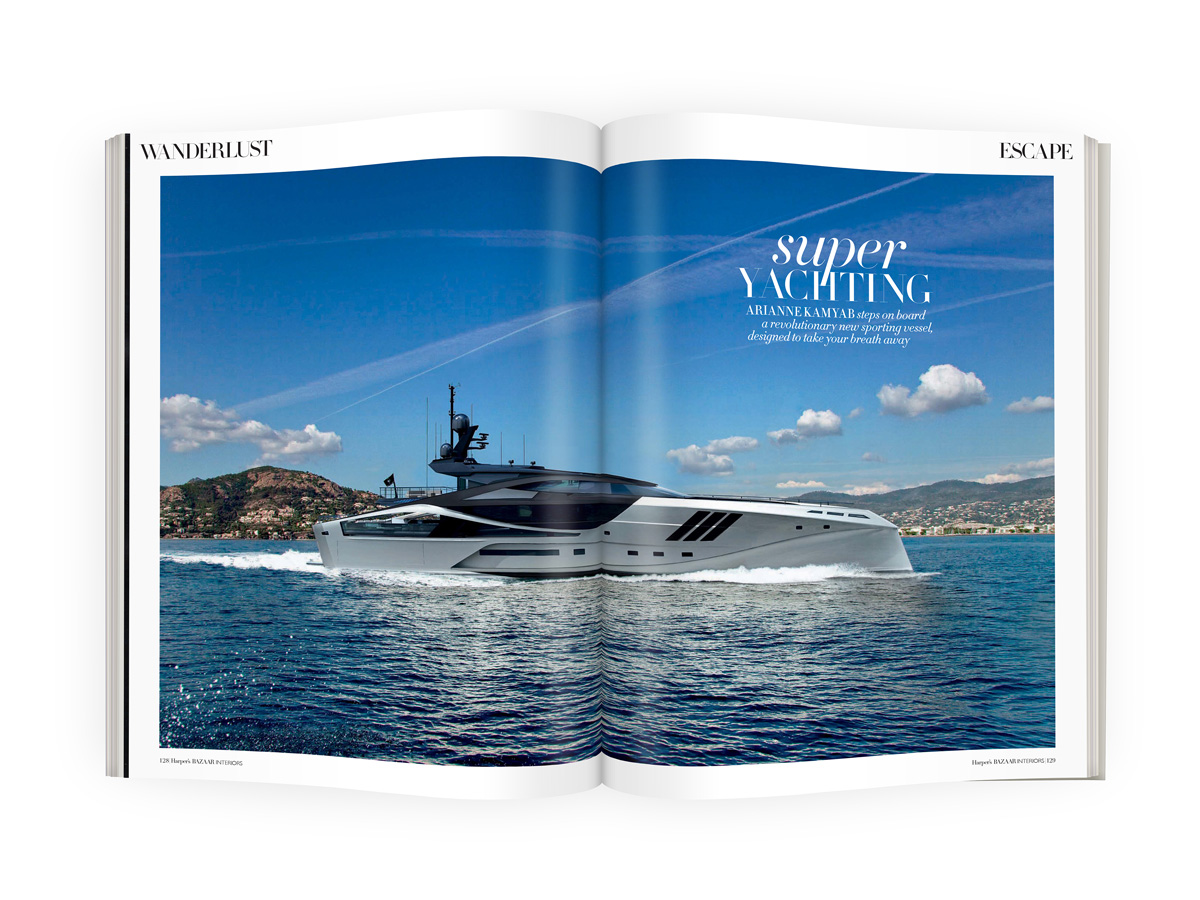
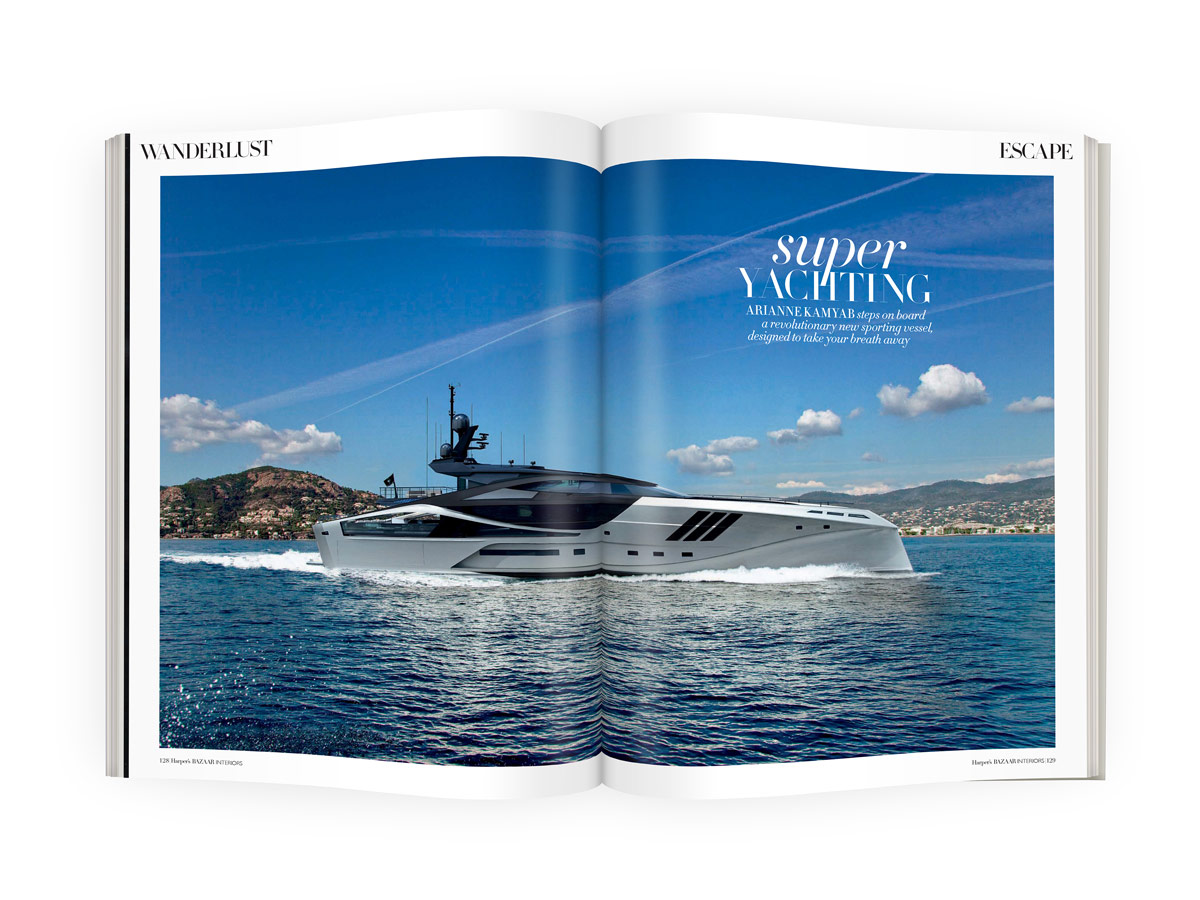
Harpers Bazaar also did a piece on the super yacht I have been working on recently. The images they used included a double page spread and some older interior images.


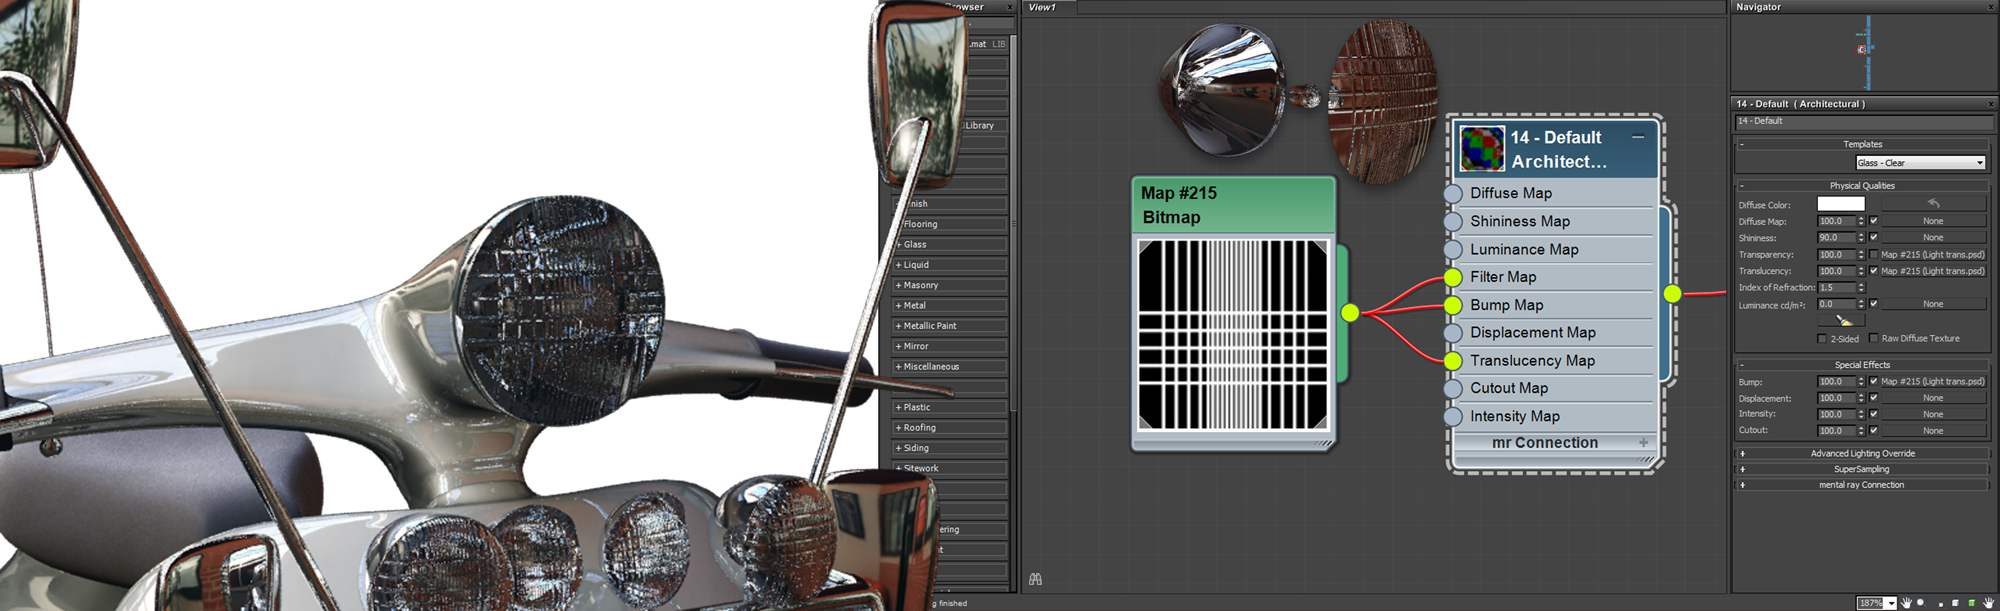
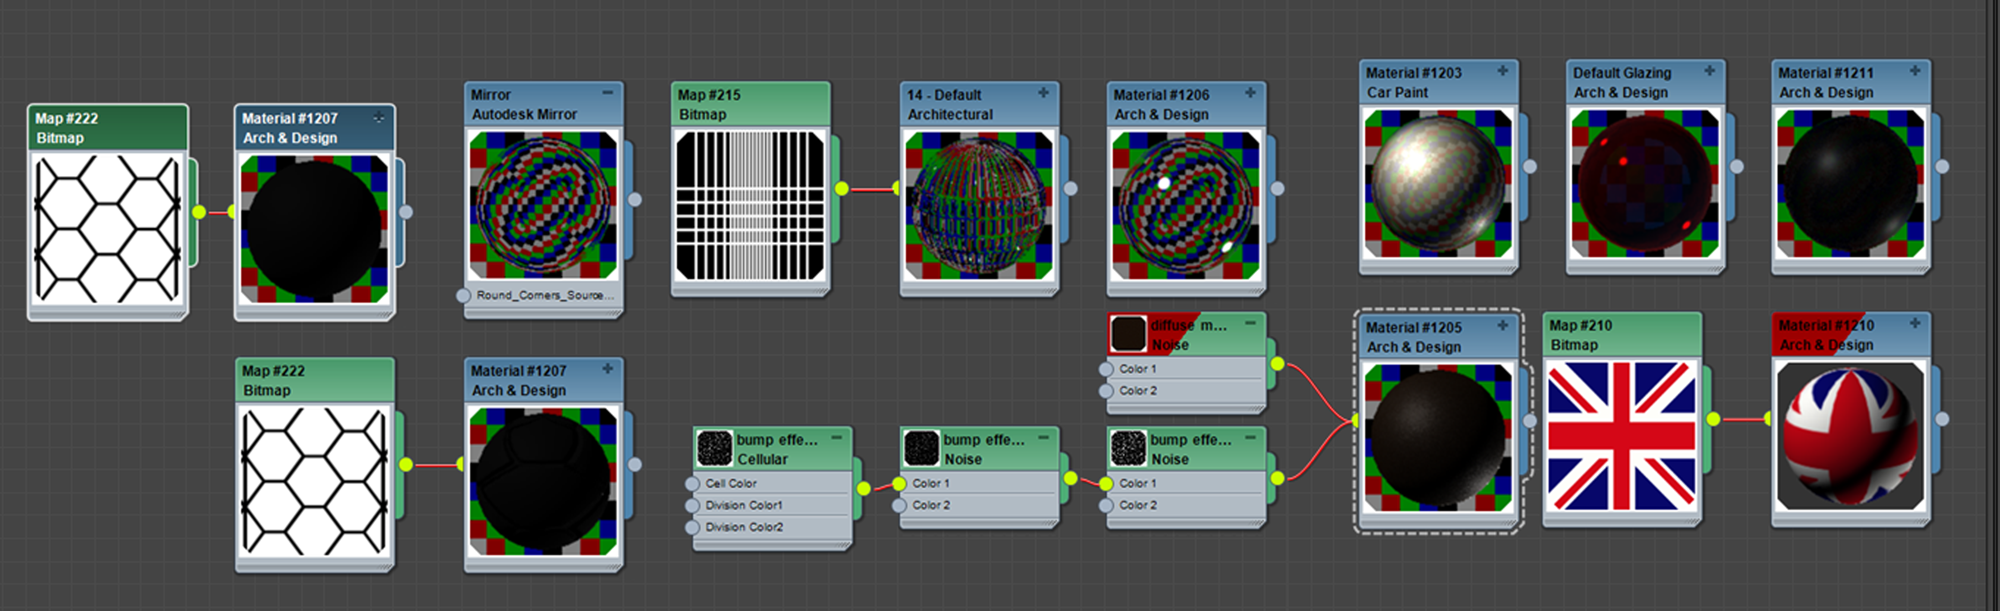
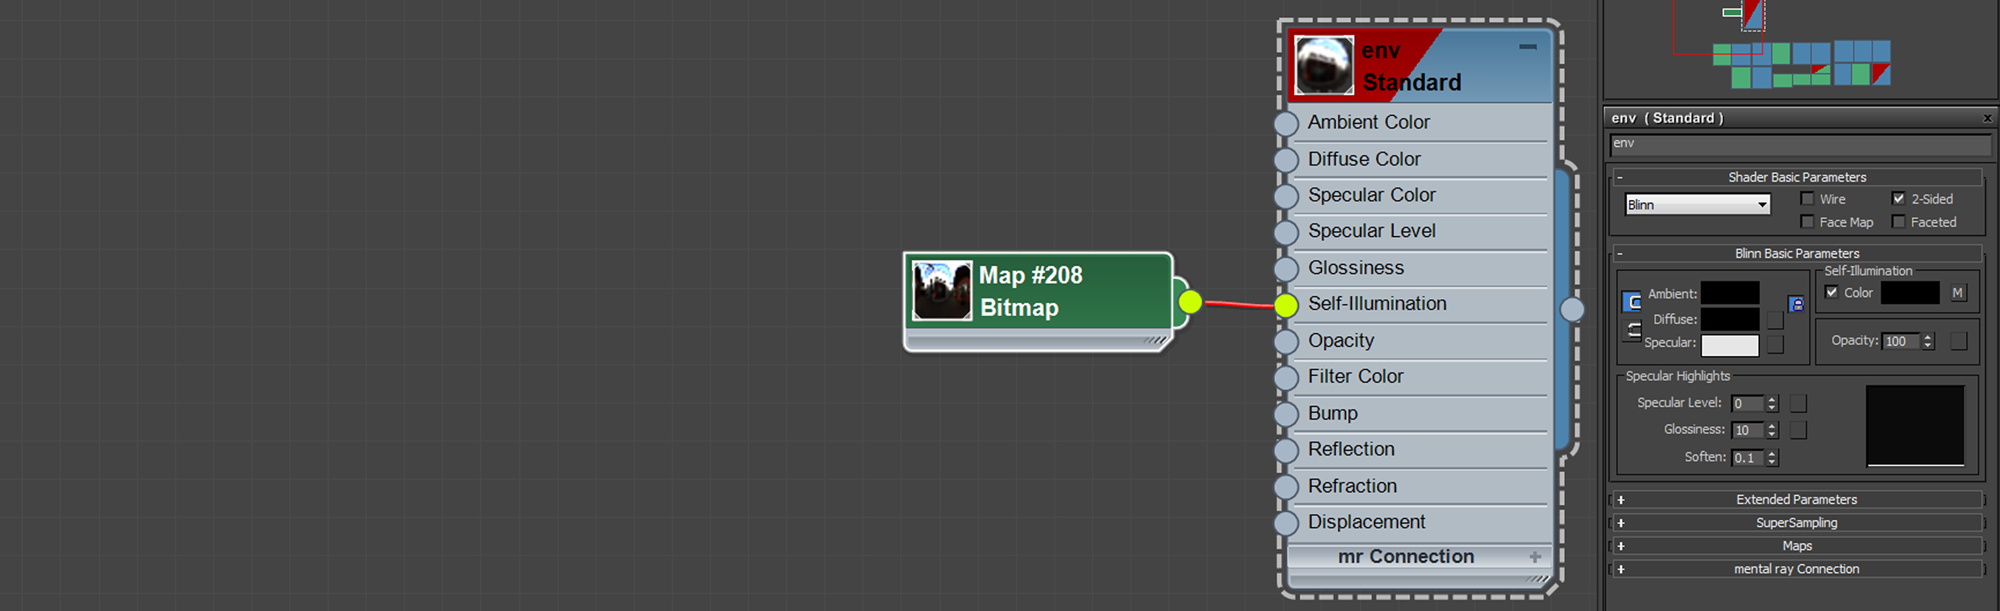
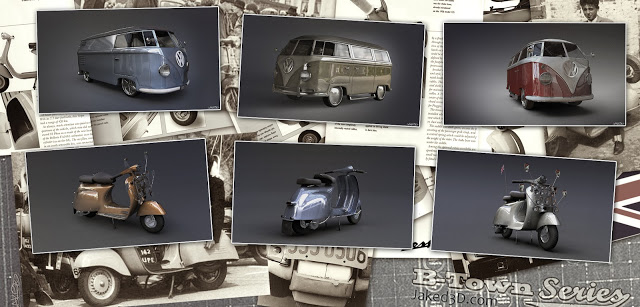
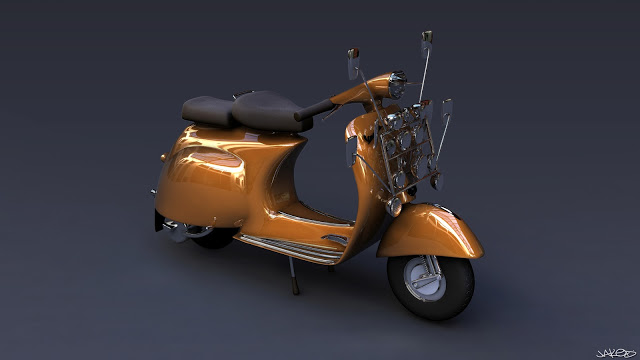
I originally created the Vespa model back in 2008 as part of a 'mods vs rockers' video game project based in 1960's Brighton. I was highly influenced by the 1979 film Quadrophenia. When I moved down to Brighton in 2011 I was inspired to revisit the project. The model I originally created was for a video game a few years previous so it was quite low poly. This time round I wanted to push the realism of the model. Before this project I had not used the Mental Ray render engine very much so it was good to take the opportunity to develop my knowledge of the engine. I wanted to push the engine and show you could create a good amount of realism with Mental Ray. There were a lot of 'firsts' for me in this project, the use of mental ray, a HDR image for lighting and the use of Ambient Occlusion.

.


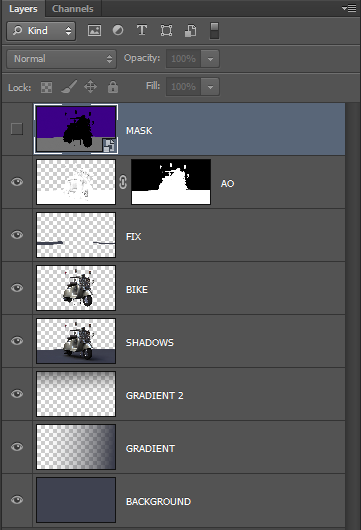
I put a ground plan down to get a shadow pass for the floor using a dark blue colour. I rendered an image without this plane and then render the floor using a region selection. I also created an ambient occlusion pass. More information on Ambient Occlusion How To: 3ds Max, Mental Ray and Photoshop.


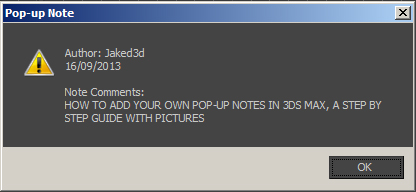
If you have downloaded one of the 3ds Max scenes from the downloads page you would have noticed a pop up note when you open it in 3ds Max. These can be useful for adding notes about the file for future reference or for a college who is going to use the scene or 3D model. To add pop up notes in 3ds Max is very simple just follow the steps below.
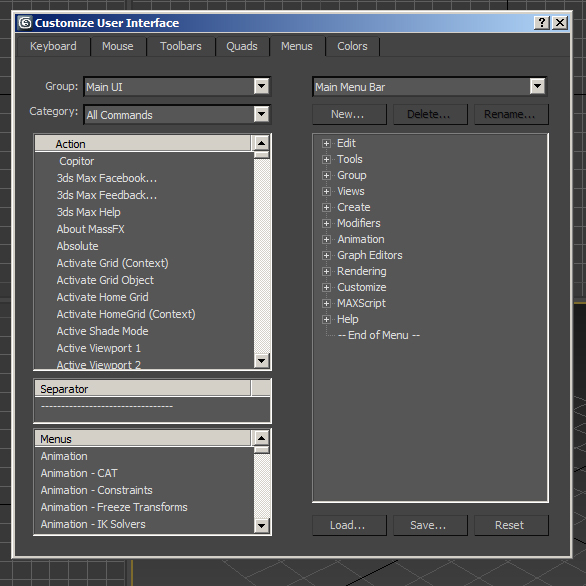
1. Right Click on the Main Toolbar in 3ds Max and select Customize from the drop down list.

2. Click on the Menu tab at the top of the new window.
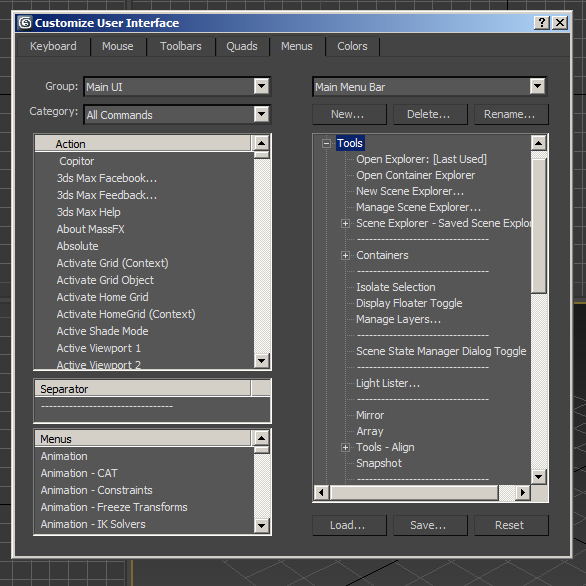
3. Now you can choose where you want to add the button to Add a Pop Up Note. I recommend Tools. So click the + next to the word Tools.
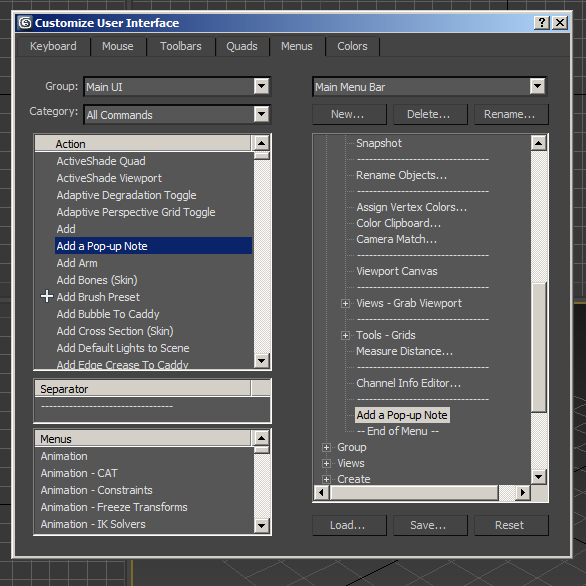
4. Now drag and drop a Separator bar across from the left side to the bottom of the new list.

5. In the Action list in the top left of the Customize User Interface window Drag and Drop Add a Pop up Note underneath the new Separator you just added.
6. Close the Customize window.

7. Now when you click on Tools in you should see Add a Pop up Note at the bottom of the list.

8. Click Add a Pop up Note.

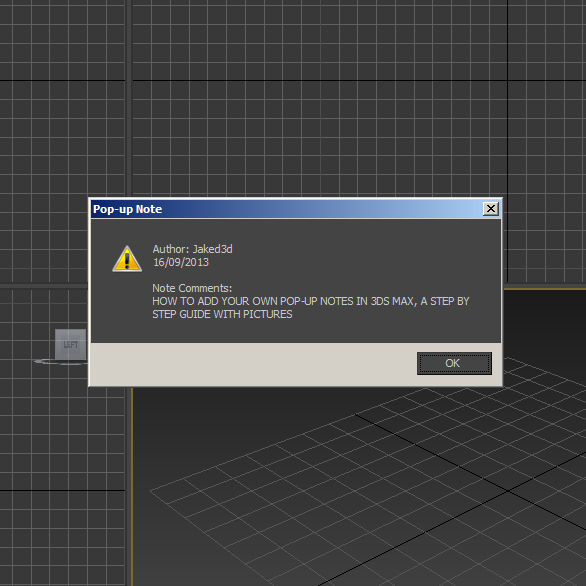
9. In the Pop Up Note window make sure that Show Note on File Open is checked. Here is also where you can add the Authors Name, Date and Description. Click Add Note.

10. Now save. Now when you open the file the Pop Up Note will appear.
And there you have it you can now add pop ups note in 3ds Max. If you found this post useful or informative please help me by commenting and sharing. Thank you.
 How To Record Actions in 3ds Max like in Photoshop
 Autodesk 3ds Max 2014 Service Pack 2
 Want to Know Why Autodesk 3ds Max is so Important for New York Production?
 Point Cloud Support in Upcoming 3ds Max 2014 Extension
 15 CGI Artworks That Look Like Photographs
 Autodesk Announces New Subscription 'Pay As You Go' Pricing on All Suites and Software
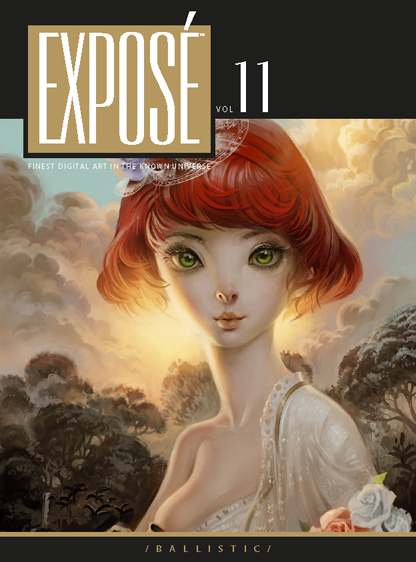

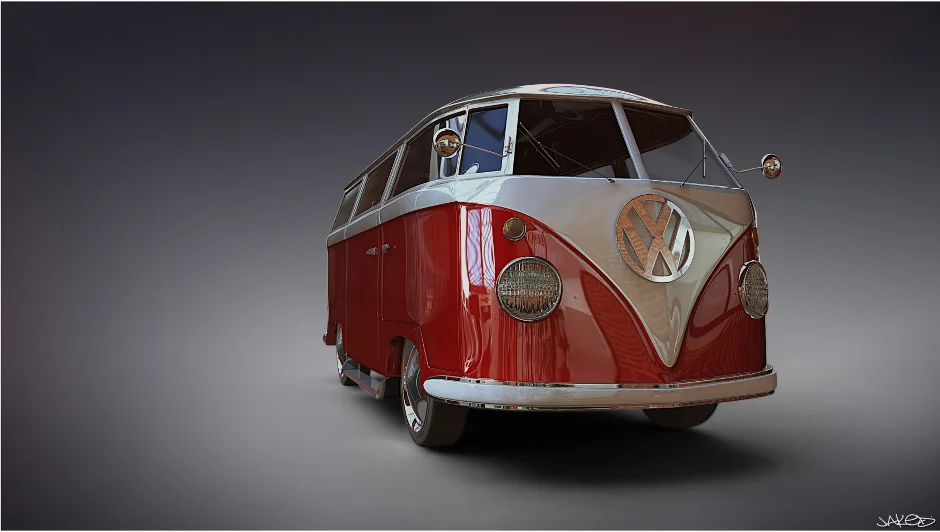
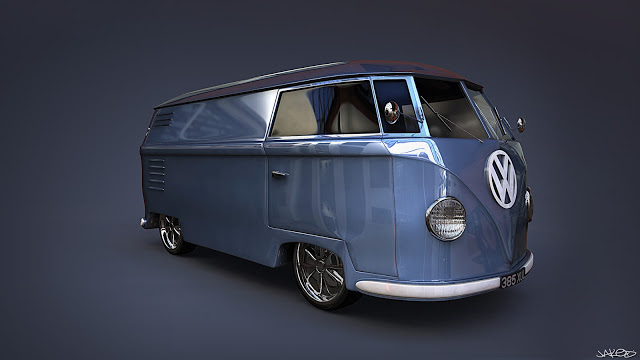
I am extremely proud to say I am in this years Expose from Ballistic Publishing. I am very happy to be featured next to the best artists in the world. This year had over 8000 images submitted from 58 countries. My image the Red VW Camper can be seen in the Transport section of the book. You can see more of my publications here. The Red VW Camper is available for download over on Turbosquid.
http://www.youtube.com/watch?v=PVpWOGRGRFk

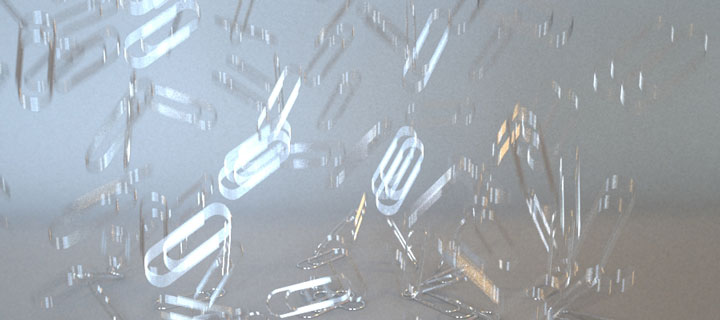
I am happy to present a some new renders from a Vray Physical Camera study. In this study I wanted to looking deeper into the Vray Camera focus and motion blur settings. The table and chairs scene was very basic using three Vray Lights.
 For the paper clips I used a studio with a HDRI and Rayfire to animate.


I was looking for a way to repeat some of the most common tasks I perform in 3ds max. It turns out that using MAXScript is the way to do it. Don't let the word 'script' scare you, it is pretty easy. The task I wanted to create an 'action' button for was. -Apply UVW Map -with Box Mapping and Real-World Scale
To create the Script we need an object to record the action from. So just create a box.
Click on MAXScript (next to Help) on the top menu. Select MAX Script Listener
This Box will pop up, Click MacroRecorder and Enable from the dropdown.
 Now what ever you do will be recorded, like in Photoshop actions.
Apply a UVW Map > Mapping to Box > tick Real-World Map Size Turn off the MacroRecorder by hitting enable again.
This is what you have. modPanel.addModToSelection (Uvwmap ()) ui:on $.modifiers[#UVW_Map].maptype = 4 $.modifiers[#UVW_Map].realWorldMapSize = on $.modifiers[#UVW_Map].utile = 1 $.modifiers[#UVW_Map].vtile = 1 $.modifiers[#UVW_Map].length = 1 $.modifiers[#UVW_Map].width = 1 $.modifiers[#UVW_Map].height = 1 Select all the text and copy it.
At the top of Max go to MAXScript again and New Script. Paste in the code.
At the top copy and paste this... macroScript UVWmap category:"Jaked3d" buttonText:"UVWmapRWS"
You can change the name of the Script (UVWmap) category:"(Jaked3d)" and buttonText:"(UVWmapRWS)"
Add brackets to the top and bottom of the code like below

Now in MAXScript > File > Save where you like In MAXScript > Tools > Evaluate All
Now in the top menu in 3ds Max Select Customize > Customize User Interface In the Toolbars tab in Category you should find what you called your category you can now drag it 'Uvwmap' onto the Main Toolbar.

You can now select any object in your scene and apply your script. You can download this one here. Jaked3d UVWmapRWS
You can then combine your 'actions' with other scripts. For example I recorded the same action in the above example with the Centre and Reset script from Frodos Magic Bag to centre the pivot of an object > reset xform > apply uvw map with box mapping and real world scale, in one hit of a button.
Search Macro Scripts in 3ds Max Help for lots more info.

I am happy to present an image that is on the inside cover of three magazines, Yachts International, Showboats and Boat International. The representation of the 48 metre SuperSport Yacht was created using 3ds Max, Vray and Photoshop.

Here are a few things I have learnt this month. 1. If you can not Group objects in 3ds Max then with the objects selected hit the unlink button on the left of the main toolbar. Then try and group it and it should work. This happens to me when I import files from AutoCAD and other software.
2. Camera Converter. To quickly add cameras I hit Ctrl+C in the 3ds Max viewport this is great when selecting views with others. But if you are using Vray it can be a pain to line the Vray Physical Camera up. This is where Anything to Physcam from Lele's Vray Tools on script spot is really great. There is a good video on how to use it from Alex over at Vray-Studio.
1. If you can not Group objects in 3ds Max then with the objects selected hit the unlink button on the left of the main toolbar. Then try and group it and it should work. This happens to me when I import files from AutoCAD and other software.
2. Camera Converter. To quickly add cameras I hit Ctrl+C in the 3ds Max viewport this is great when selecting views with others. But if you are using Vray it can be a pain to line the Vray Physical Camera up. This is where Anything to Physcam from Lele's Vray Tools on script spot is really great. There is a good video on how to use it from Alex over at Vray-Studio.
3. Cleaner. I was having trouble with a scene that was taking ages to load and save. I also had to turn off autoback and it really got hard to work with. Then I found Cleaner on script spot. This amazing tool got my file down from around 1gb to 200mb!
 4. Remove Missing Plug-ins. I started to use Rebus Farm and I had a plug-in that Rebus did not. They are quite good with having Plug-ins but I could not send it until I sorted it. This can be quite a pain to resolve, but not with Remove Missing Plugins from Martin Breidt. Really easy to use and extremely useful.
5. How to setup Depth of Field in 3ds Max. A great reminder on setting up a DOF pass in 3ds Max from Onno Van Braam.
6. Wireless Trackpad and Keyboard iPhone App. This great app from Logitech turns your iPhone into a mouse and you can type to. This is handy when watching films on the TV from the laptop and not wanting to have to move.

Recently I have been trying out quite a few scripts and plugins to speed up my work flow in 3ds Max. I highly recommend browsing scriptspot.com for useful scripts. But to save so time and kick you off here is what I have been using recently. Please note that not all of these are available on Sciptspot but there is a link to each download. So in no particular order here are my Top Five Free 3ds Max Scripts and Plugins. Wireframe Render jokermartini.com/2010/04/30/wireframe-render/ Wireframe Render is a script from John Martini over at jokermartini.com. I have found this one very useful for creating wireframe renders for Turbosquid for example. Wireframe Render uses a simple interface that enables the user to quickly and easily create wireframe renders. I would also recommend checking out some of John's other cool tools available at jokermartini.com/extras/ including cobwebs and Select Intersectors.

https://vimeo.com/26107414 Center and Reset www.scriptspot.com/3ds-max/scripts/frodos-magic-scripts-pack This neat script is from Frodo's Magic Scripts Pack. It resets the xform on an object and centers the pivot point in one click. I use this alot and find it to be a big time saver.
 Ivy Generator www.guruware.at/main
Ivy Generator hass been around for a while now and I think it is great. I am always looking out for places I can put it in my scenes because it looks great and it is so easy to use. It is also very customisable with your own leaves etc. Here is a great video tutourial from Sachin Joshi over at CGTuts.

http://www.youtube.com/watch?feature=player_embedded&v=iJaPhuxepIs


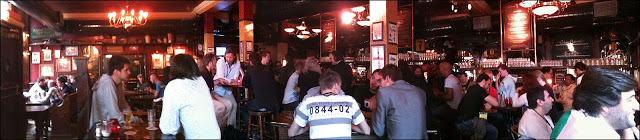
 I headed over to Utrecht for the End User Event this week. The event is held in the Florin Pub where the rooms for the talks also are. A total of 5 rooms made it difficult to decide what to see or not. Luckily a lot of the speakers presented their talks more than once. I arrived in the afternoon on Thursday and started with the 3ds Max Expert Panel which was made up of of Neil Hazzard, Zap Andersson, LouisMarcoux, Alex Horst and Jamie Gwilliam. In this session we could ask anything we liked about 3ds Max and any issues we had, this was a great start to the event.
http://www.youtube.com/watch?feature=player_embedded&v=6aU2s85Zw3A

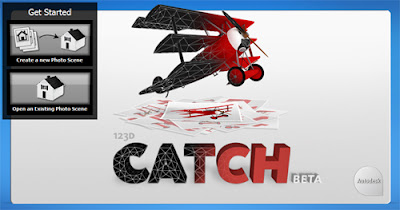
So I downloaded the software from here. The software comes with some good tutorials and the program is pretty straight forward to use. For the object I wanted to create I took 42 photos spinning around the object. I uploaded them and waited for Autodesk to email to let me know it was completed. A couple of the images were too dark so the object I received was not 100% but 42 images is probably the minimum I would suggest.
It looked pretty good if I do say so myself. Next, what I was most excited about was getting it into 3ds Max. This was simple, File, Export, FBX and import into Max, this is what I got below.

The scene contains cameras where all the shots were taken from, which could come in handy. I then opened up the Material Editor and selected the material from the object. There were two in this case. The file Autodesk emailed me contained to texture sheets which I remapped to the correct location and below are the 2 texture sheets and the result i got.


 "Key Learning
Describe the hardware required for iray and explain how to use cloud rendering with iray
Explain what iray is
List the advantages and disadvantages of iray
Describe the differences between iray and previous rendering technology"
... Autodesk University
"Key Learning
Describe the hardware required for iray and explain how to use cloud rendering with iray
Explain what iray is
List the advantages and disadvantages of iray
Describe the differences between iray and previous rendering technology"
... Autodesk University

Autodesk 3ds Max 2013 has been announced and here are the latest New Features videos. Personally I am looking forward to using iRay Active Shade in a viewport (video below). I understand that iRay Active Shade was only available in 2012 in the subscription pack. I have started making the move from Mental Ray to iRay now and I suggest trying Niveda's iRay out if you have not done so already.http://www.youtube.com/watch?feature=player_embedded&v=pji7hLREtoc Check out all the new feature videos here.
 Copitor is a 3ds Max script by Mathieu Jacquin which allows you to copy and paste selected objects to another 3ds Max scene or to another window if you have more then one 3ds Max open. It is also useful to back an object up before you try something, such as booleans!
You can download it here.
Copitor is a 3ds Max script by Mathieu Jacquin which allows you to copy and paste selected objects to another 3ds Max scene or to another window if you have more then one 3ds Max open. It is also useful to back an object up before you try something, such as booleans!
You can download it here.
To install... Drop The file in max viewport and go to Customize ==> Customize User Interface ==> Category: zOffTy Tools ==> Copitor
