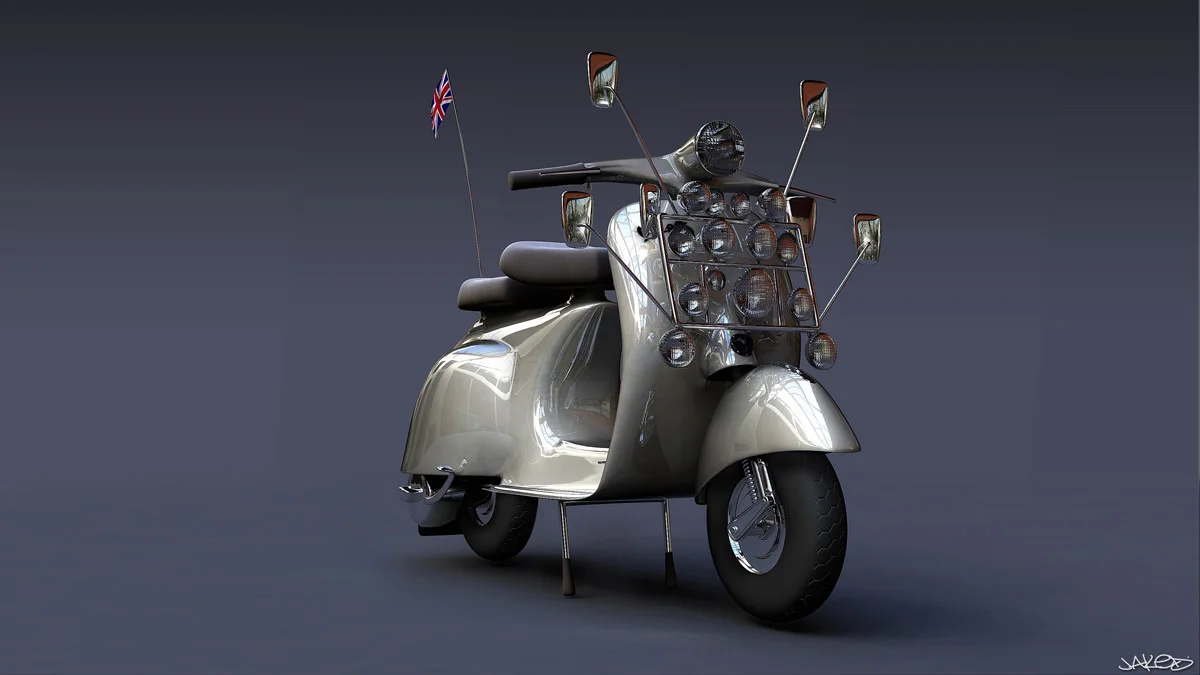
I originally created the Vespa model back in 2008 as part of a 'mods vs rockers' video game project based in 1960's Brighton. I was highly influenced by the 1979 film Quadrophenia. When I moved down to Brighton in 2011 I was inspired to revisit the project. The model I originally created was for a video game a few years previous so it was quite low poly. This time round I wanted to push the realism of the model. Before this project I had not used the Mental Ray render engine very much so it was good to take the opportunity to develop my knowledge of the engine. I wanted to push the engine and show you could create a good amount of realism with Mental Ray. There were a lot of 'firsts' for me in this project, the use of mental ray, a HDR image for lighting and the use of Ambient Occlusion.

.
The reference was originally taken from a book on Vespas. I also watched the film quadrophenia a few times. It was great to have a low poly base mesh already modelled so I could start work on the fun stuff I really enjoy, adding details to the model. There was not many special modelling techniques used. The flag was made using the cloth modifier, which was pinned to the pole. The mirrors were made using splines and the headlight were made like this.
.
.
.
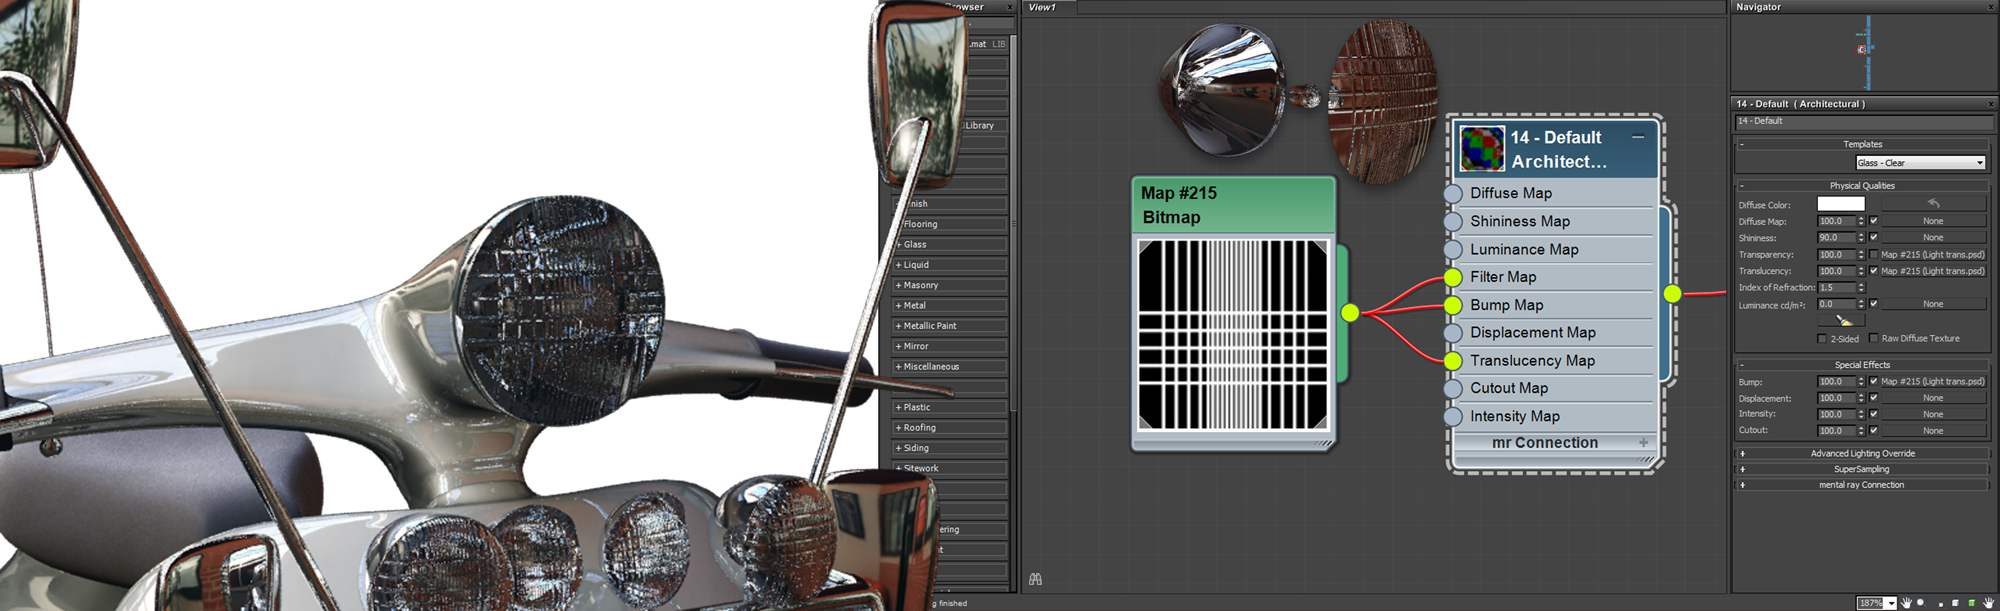
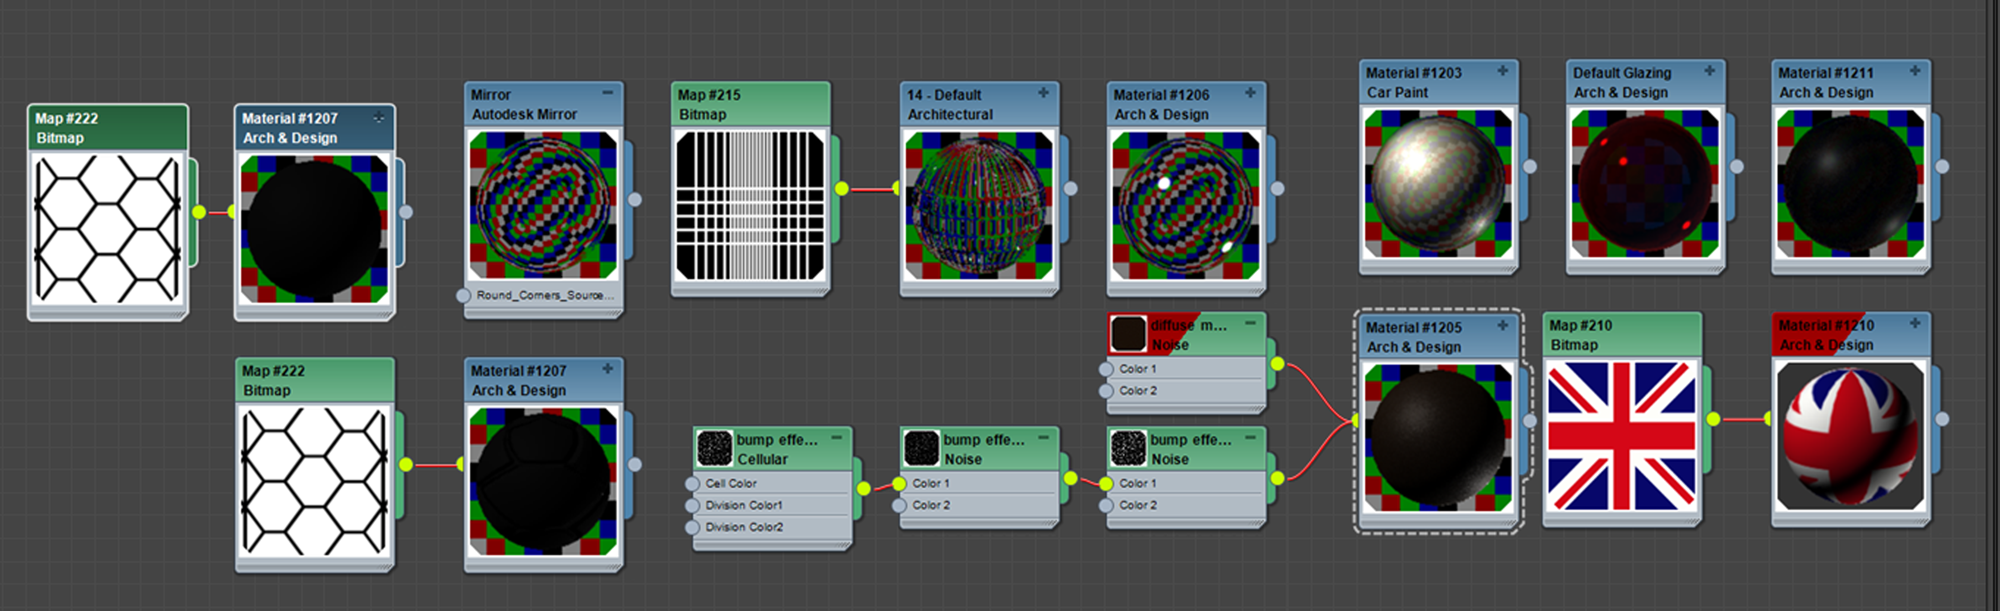
For the paint material I really wanted to get a nice reflective coat on top of the paint layer itself. I really like the amount of reflections I could get from the vehicle because of all the chrome and mirrors. Most of the materials are very basic and looking back now I maybe could have added some bumps and reflection maps to add to the realism but I do like the clean, crisp effect I got from not adding imperfections. I used 10 materials show below.
.
.
.
.
Setting the camera is an important part of the image, I tried very much to abide by the basic photography rule of thirds. I tried many angles with various paint colours, some I was more satisfied with than others. I ended up with three shots that I wanted to develop.
.
.
.
.
I put a ground plan down to get a shadow pass for the floor using a dark blue colour. I rendered an image without this plane and then render the floor using a region selection. I also created an ambient occlusion pass. More information on Ambient Occlusion How To: 3ds Max, Mental Ray and Photoshop.
Although when I created this image I did not use a Wire Colour Render Mask I recommend it to be able to control each material in post production. To create this pass I recommend
Render Mask by
Ivan Tepavicharov a excellent free script that has been develop to do a lot more than just wire colors including Z-Depth, AO, Reflections and many more. For other handy scripts and plugins check out the
Top Five Free Scripts and Plugins..
.
.
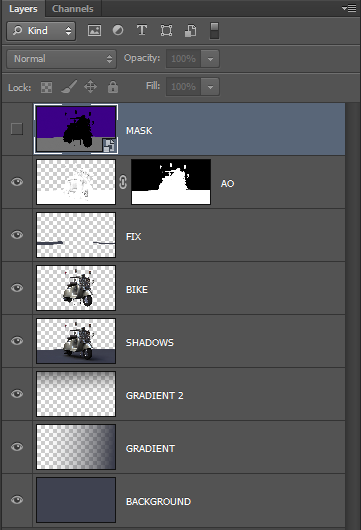
This is also a part I really enjoy, post production. Most of the work was done by Mental Ray so the post production was minimal. I began by bringing the passes into Photoshop, I overlayed the floor/shadow pass and put the AO on top using a multiply layer. I then painted in a gradient in the background matching the floor colour, this can also be changed in post. I then also put some gradients of colour to add some variation to the light and to set the mood of the image. Below shows the layers in Photoshop.
.
.
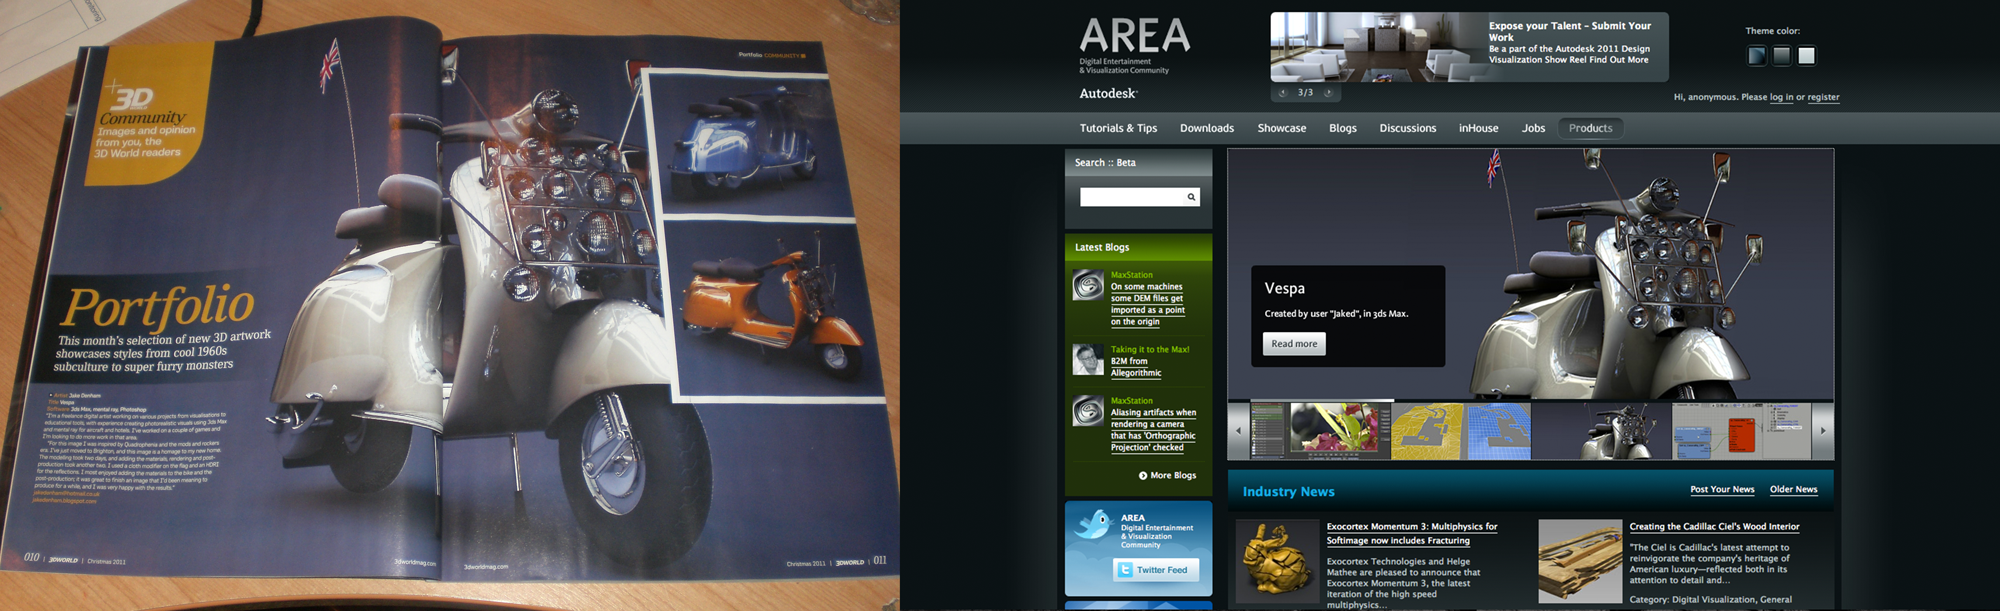
I was happy with the result of the image and very proud that it was features on the front page of Autodesk's Area and to see it in 3D World Magazine. I hope that this Making Of has been helpful and if you enjoyed it or have any questions please leave a comment. I like to think that this site will speed up your development as a 3D Artist by trying to explain things that took me so time to learn.
.