Post Production

Aston Martin Rendered with Keyshot and Mental Ray

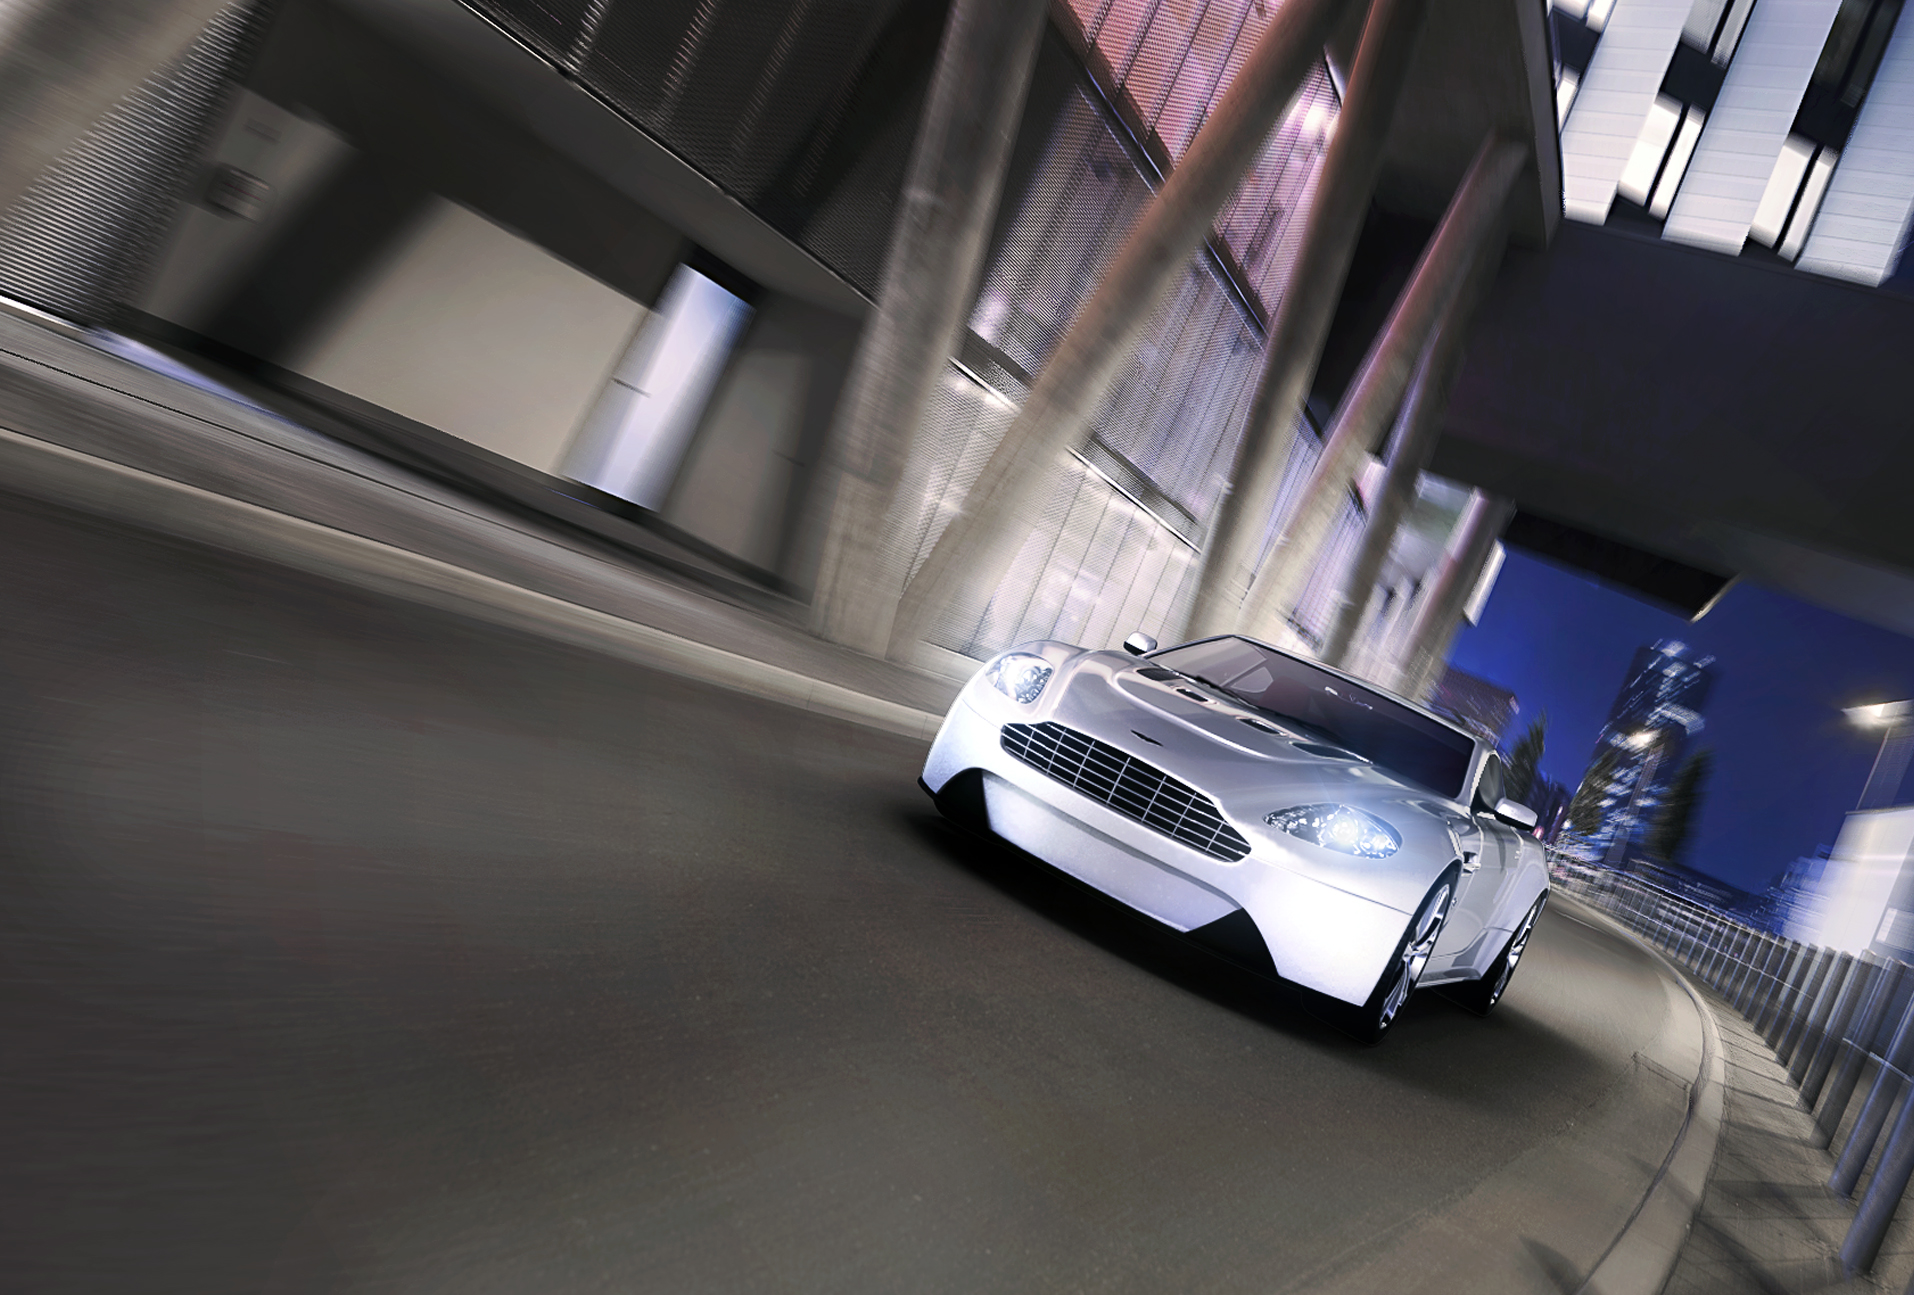
Here are the first few images of an Aston Martin rendered with Keyshot and Mental Ray . The first two images of the Aston Martin Vantage are rendered in 3ds Max with Mental Ray and a HDRI environment, later on in the post the Aston Martin is rendered with Keyshot. The feedback on the studio shots are that as the car is in a studio the reflections should be of lights and not of an environment. Aston Martin Mental Ray Jaked3d

Aston Martin Mental Ray Jaked3d2

Below is the next stage of the Aston Martin rendered with Keyshot. In this render I used Keyshot rather than Vray or Mental Ray and 3ds Max. It has proved to be a great learning experience, proving to me that Keyshot is an extremely quick and powerful tool. I also used HDR studio which I highly recommend. The next step for this project will be trying out Vray, 3ds Max and HDR Studio with higher resolution HDR images and backplates. As well as using the problems I encountered during this stage to improve the workflow in future. I hope to revisit this project when I can find time.

Aston Martin Keyshot Jaked3d

Here is a quick update image using Vray in a full 3D environment. That is three render engines and counting! :)

Aston Martin Parked

HDRI Reflections

3.jpeg

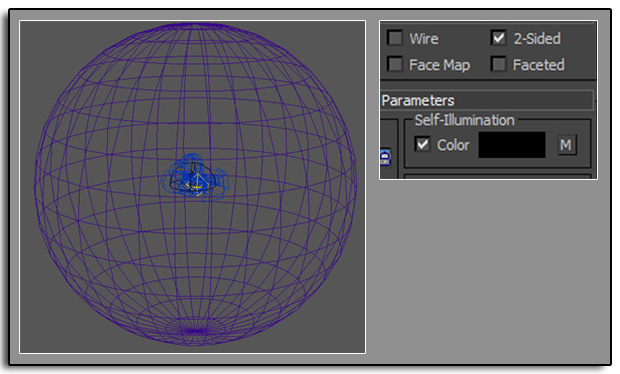
1-2This post is to describe how I got the reflections on the Vespa in a studio environment. I think you can just add a HDRI to the environment slot in the material editor. But I did it like this.

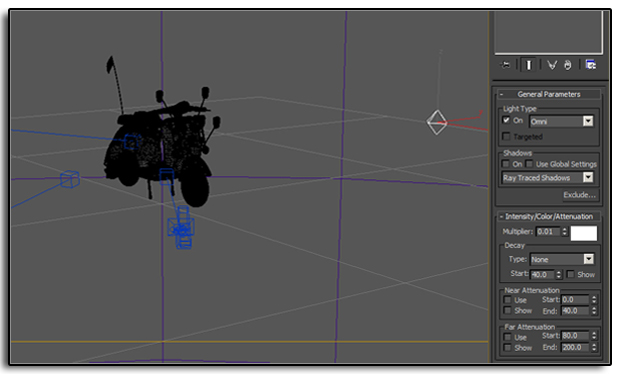
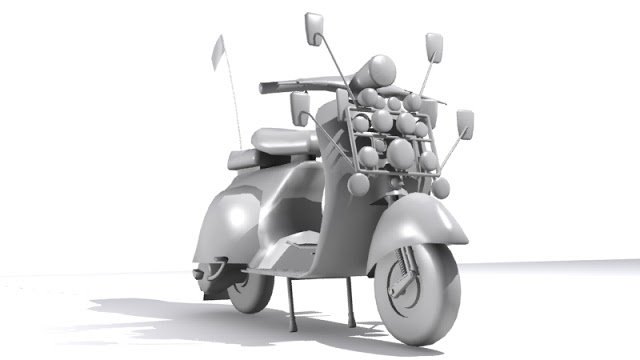
I created a sphere around the Vespa and applied the HDRI checking it was 2 sided and in the Self-Illumination slot. The Vespa is on a plane with an omni light with a multiplier of 0.01. When it came to rendering I added a Object ID pass and a separate object id to the bike, plane and sphere in the objects properties. The pass and render are below

3Using the pass in Photoshop I masked out the background and added a gradient. I hope this all makes sense please feel free to add any comments and ask questions below.

4

Ambient Occlusion How To: 3ds Max, Mental Ray and Photoshop

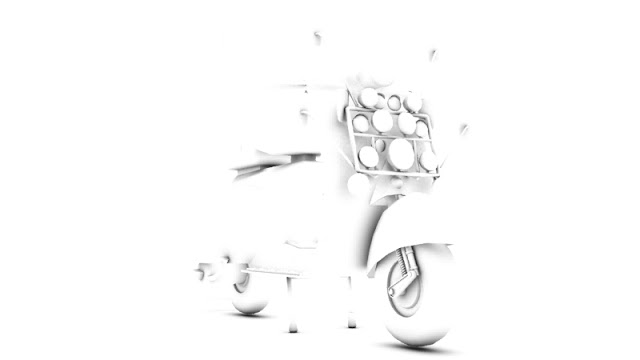
As mentioned in Basic Compositing in Post Production I will go through how I create an ambient occlusion material and use it in Photoshop. Ambient occlusion can be used to enhance shadows in renders. I have set up a model of a Vespa that I previously made and added some lights to the scene. This is how the render currently looks.

VespanonAO

In a new material slot in the material editor (M on the keyboard) the first thing I do is change the Ambient and Diffuse colours to black and tick on Self-Ilumination.

Ao1
Add a Mental Ray Ambient/Reflective Occlusion material to the Self-Illumination slot and change the samples to 64.
Ao2


Ao5
Open up the Render Settings and in the Processing Tab tick Enable under Material Override, then drag the Ambient/Reflective Occlusion material into the Material.
Ao4
If when you render it is all black make sure Exposure Control is off in the Environment Settings (8 on the keyboard).
Ao3


Then up the max distance in the Ambient/Reflective Occlusion Parameters until you get your desired result. Here is mine.

VespaAO

AO6Save the render and open the original and Ambient Occlusion Render in Photoshop and whilst holding Shift drag the Ambient Occlusion onto the original render and change the layer style to Multiply. You can also change the opacity if need. Here is the final result.

VespaAOF

Basic Compositing in Post Production

I recently completed a couple of new interior renders for an Avro RJ using 3ds Max and Mental Ray. So I thought this would be a good time to explain the basic Photoshop Postwork I go through.

1evp88

Compositing in post production is one of the most important and probably most over looked parts of CG. It was only recently I started compositing different renders to improve the quality of my final images, so I am in no way an expert but this is how I composite my images.

The most important thing is lighting, something that I am yet to master but here are some great links to get you on your way. 8 Tutorials To Make You Fully Understand 3D Lighting In CG. But this will only get you as far as the render output on the image above.

Adjusting the Levels (Image > Adjustments > Levels) in Photoshop will make sure you are getting the most colour range out of your image. Render3ao

Rendering out an Ambient Occlusion Pass from your 3d application is one of the best ways to improve results. The render will look something like the one here. Put it on top of your image in Photoshop and Multiply or Overlay it in the layers, you can also adjust the opacity. I then duplicate and merge the layers and adjust the Levels and the Brightness and Contrast.

When rendering out of 3ds Max I have found the images could do with crisping up. To do this add a Unsharp Mask. (Filters > Sharpen > Unsharp Mask)


Render3zd

To get a Lens Blur or Depth of Field you will need to render out a Zdepth pass. The output should look something like this one. You can override all materials instead of replacing them in 3ds Max (Render Setup > Processing > Material Override > Check the Box and drag the material in.) The last thing I do is adjust the contrast and save the image out. There is so much more you can do but here are the basics of what I generally do.