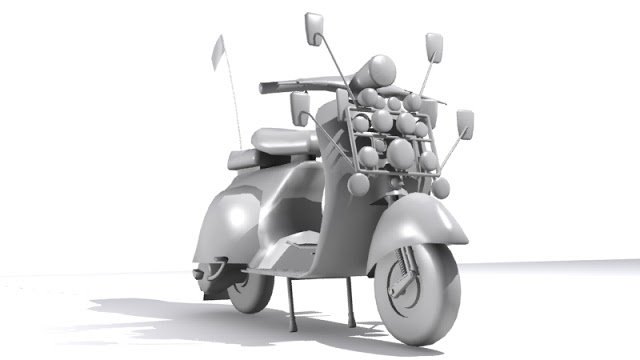
As mentioned in Basic Compositing in Post Production I will go through how I create an ambient occlusion material and use it in Photoshop. Ambient occlusion can be used to enhance shadows in renders. I have set up a model of a Vespa that I previously made and added some lights to the scene. This is how the render currently looks.
In a new material slot in the material editor (M on the keyboard) the first thing I do is change the Ambient and Diffuse colours to black and tick on Self-Ilumination.


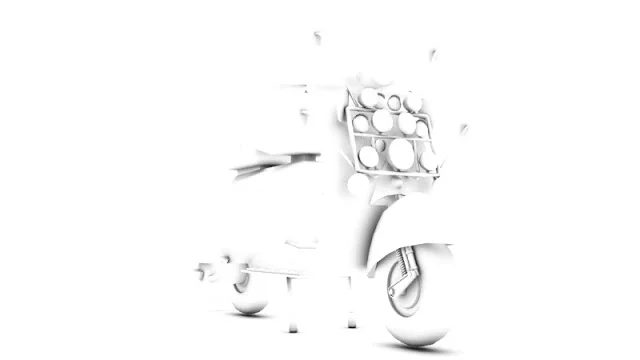
Then up the max distance in the Ambient/Reflective Occlusion Parameters until you get your desired result. Here is mine.

 Save the render and open the original and Ambient Occlusion Render in Photoshop and whilst holding Shift drag the Ambient Occlusion onto the original render and change the layer style to Multiply. You can also change the opacity if need. Here is the final result.
